I stopped into Bici Mundo yesterday to check up on the Schwinn Exerciser. Everyone there has been very helpful with this project. To recap, we are running a 28 tooth chainring at the crank straight forward to the big ring on a five speed freewheel. Then another chain will go from the 14 tooth cog on the freewheel straight up to a 65 tooth chainring on the shredder itself mounted near the 'dashboard'.
Thankfully, the five speed freewheel has been mounted on the wheel where only a single speed cog used to be! Susan had to move the axle over and re-dish the wheel to make it happen. Thankfully she was the one working so we got to work on it together.
Not much space in there! You can see a small nut down below it, near the dropout. That was hitting the cog teeth, so we had to remove it and the brace attached to it. Since I will be mounting the whole bike on a movable steel frame, I don't need the brace.
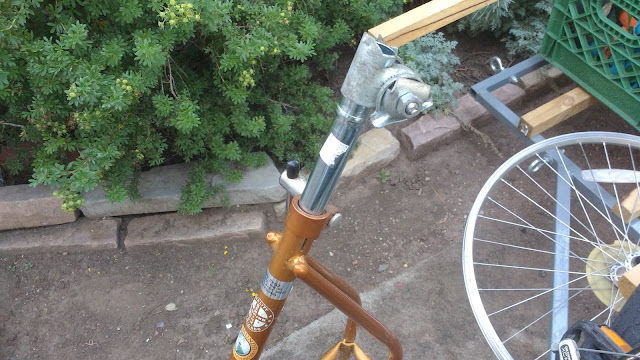
What I do need is a more supportive saddle, but Schwinn used a non-standard seat post diameter AND an old-style seat. Susan helped me pick out a seat post that will fit a modern-compatible seat clamp, and the seat clamp that will fit a modern mountain bike saddle which I'll try to get used for a song at another local shop that deals with a lot of new bikes. The original seat post will go to a tall friend who collects vintage Schwinns and needs the extra saddle height.
We fit a 28 tooth chainring to the one-piece crank and greased the bearings up nicely.
The flywheel weighs in at 10.89 pounds (4.94 kg). Lighter than I'd like, but still better than nothing.
We put the wheel back on and ran a 5-speed chain on it. Then we had to figure out a solution to stop the wheel. The bike came stock with a Weinmann center pull brake mounted on the backside of the fork. Setting that up as a hand brake (instead of the tensioner setup) would have meant running the cable straight through the frame tubes, so that wouldn't work. Susan picked out a used Tektro side-pull brake, which means the cable runs off the side of the brake, away from the frame. I grabbed a nice aluminum brake lever out of the other used bin. She even grabbed some used Jag Wire cable housing, meaning that almost nothing on this bike is new! A used machine is pretty cheap and very eco-friendly, being that very little material had to be mined, processed, and manufactured for this machine.

I'm going to have to mount a couple unsprung chain tensioners to deal with the extra long chains. I'll be mounting a used saddle to it, and the shredder will have to be mounted on a bracket to the 'dashboard' area. If I use a tensioner on the vertical chain to the shredder, I won't have to make the shredder position adjustable! But I'll probably have to figure out a different solution for the handlebars, since they and the stem might interfere with the shredder. It'll all come together...


