Saturday, December 29, 2018

Deconstructing Waste Objects & Identifying Scrap Plastics

Above: all the gears from a single Epson printer-scanner-copier. Most unmarked, but probably polyoxymethylene (POM).

While the shredder and oven work is halted I decided to keep myself busy for a couple days by disassembling some machines from the trash. At hand were an Epson printer-scanner-copier probably purchased at Target less than five years ago and a Bissel vacuum which looked about 15 years old.

With three screwdrivers and a little TV I ripped apart these two objects which people in my development had thrown out this year. I noticed that most parts were labeled for recycling, but some oddly weren't. Here are some examples of ABS plastics I got out of the pile, and photos of the identifying markings.


First up and one of the largest pieces off the vacuum was this blue brush cover. The complex stiffening ribs underneath make it hard to find information, but stuffed into one of the holes is the marker "ABS".


Next, a part of the printer. This used to hold long, thin rollers, probably to move paper. The marking here is quite obvious, and helpfully uses greater than and less than symbols to denote the plastic type. This specific one is marked >ABS KD15<. I do know that it's ABS, but the KD15 is a puzzle. I've Googled it but found no relevant results. It's probably ABS with an additive, and that additive probably isn't a toxic Brominated Flame Retardant (BFR). It may be something else toxic, but I can't find an MSDS so really have no clue.


Another smaller piece is natural colored ABS. The type is small but legible.


The printer actually had three different colors of ABS, this one being grey. I wonder why the material marker is so small when there are obviously quite large areas to potentially locate it. At about 11" (28 cm) long, there's enough real estate.


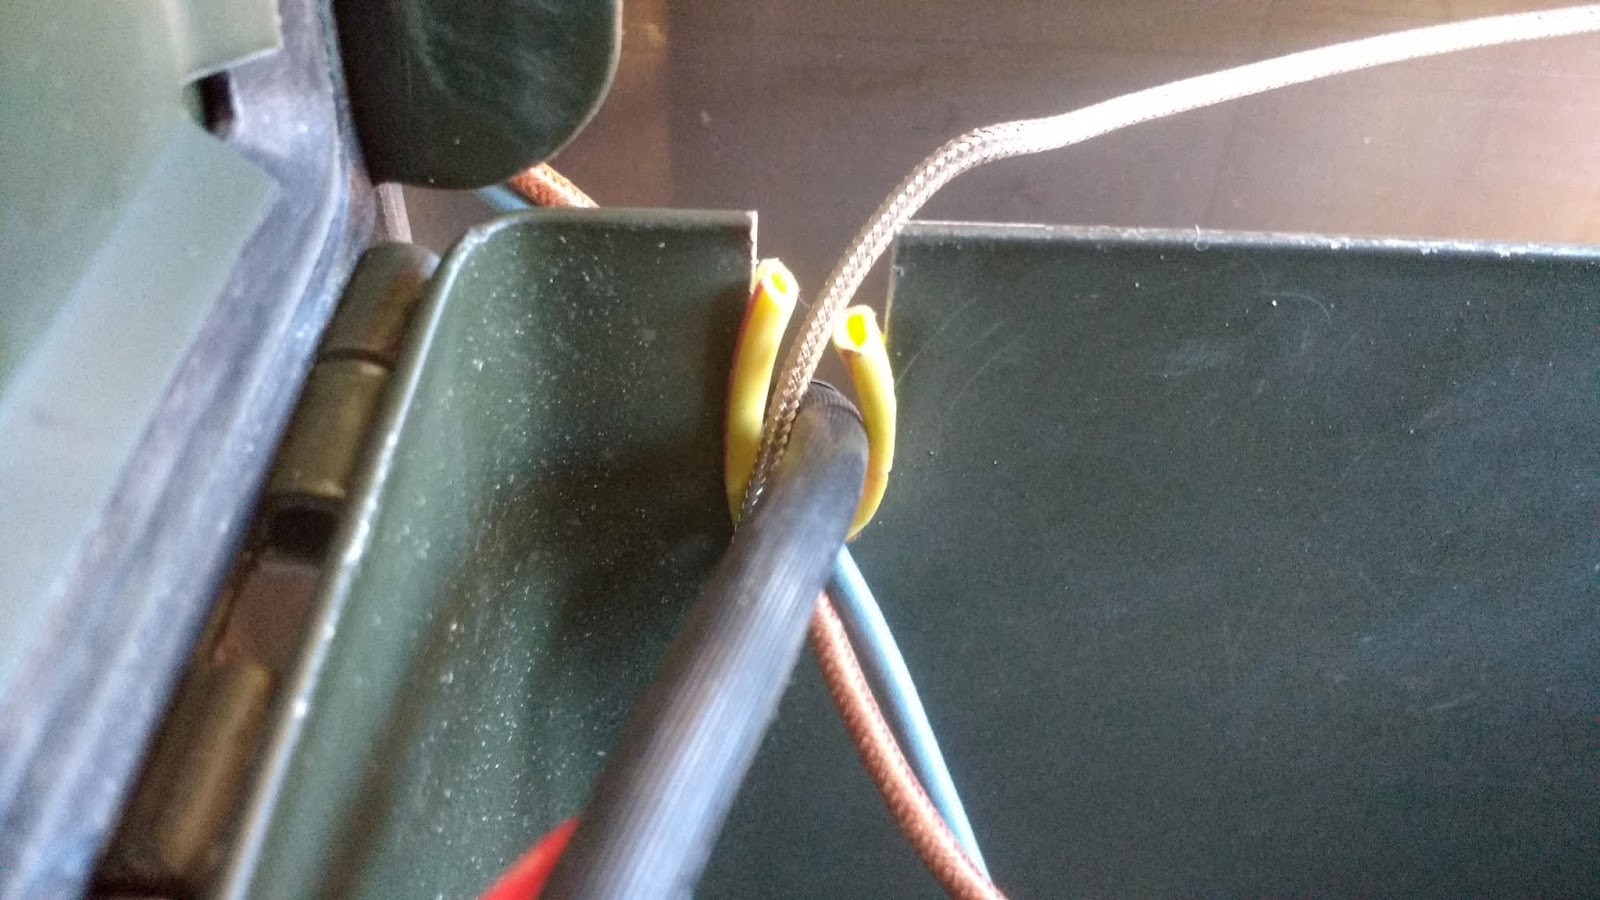
Next up was the Bissel's dust collector. This consisted of several pieces stacked on top of each other. Some pieces were ABS, like this one.


Others were polypropylene. The bottom piece, though, is a mystery. It certainly appears to be made of the same material as the one above.


But markings are elusive. I would assume it's ABS just like the other, but I can't afford to contaminate a bucket of ABS if it isn't.


  This is why it's important to mark every piece, especially pieces this large. If and when take-apart culture is more widespread, these markings will be the difference between something being turned into something else, and being sent to the landfill.

OTHER TYPES

I encountered multiple plastic types as well. Here is a short list of them:

PC- Polycarbonate, I assume. Scanner light housing. The only piece of PC in the entire product. Didn't collect enough to be worth recycling it.

PP-FR- Polypropylene- Fire Resistant. Printer power supply box. Likely toxic. Trash.

PP-ND- Polypropylene ??. No idea what this means, and I don't remember what it was on.

PS-HI (aka HIPS)- Polystyrene- High Impact. Most larger printer parts. A combination of brittle PS and durable polybutadiene rubberizer, it's apparently used for many consumer products. I did find an MSDS for this and it is not listed as a possible or probable human carcinogen. Good news. I'm excited to see if this will work well for my shredder.

POM- Polyoxymethylene. Natural colored gears and small parts in printer. This was a mystery to me until I looked it up. It's a high-precision, low friction plastic with good dimensional stability. I believe that means it doesn't heat and shrink much. Most gears are not marked >POM<, but just like soda bottle caps it's just about a foregone conclusion so I'm going to go with it. I'm also excited to experiment with this one but will need many more gears to be able to make anything.

So far that's it for the deconstruction. I sent out a couple calls for plastic and machine donations. A few people have offered more printers and vacuums. The vacuums could be a pretty good source of ABS and large PP pieces. Wait 'n' see, I guess!

Monday, December 24, 2018

Motor Wiring and Shredding Table


 While I wait for the motor-to-shredder coupler (a Lovejoy coupler) to arrive at the machine shop, I stopped by at my mentor Wards' house to get help wiring the controller to the motor. The controller as an adjustable cutoff switch so I can make everything stop if the shredder binds up. Fancy.


I'm glad Ward knows what he's doing, because it's too much for me to make total sense of. Basically we are running power through an old extension cord, through the controller, and then through a reversing switch to give the motor the ability to run backward. I helped strip wires and stuff. He will poke around with it over the next couple weeks and I'll be back home to pick this stuff back up in early January.


This motor is a lot easier to haul by bike than the bike shredder! It pulls beautifully on my newly completed trailer.


And to house everything I made a table yesterday. Everything is used, repurposed, or just found in the trash, except for the screws. The paint cans show you roughly where the motor and gearbox will sit. The shredder will have a hole under it to drop plastic in a 5-gallon bucket, though the table fits two of them comfortably on a shelf made of trashed Ikea mattress support slats. The wheels and axle are from a Coleman barbecue grille so I can roll it around the garage and demonstrate it around town. I'm pretty happy with the table and will leave it unpainted to demonstrate what can be done with next to no money if you have access to tools. (Tools used: drill, screwdriver, Skil saw, miter saw, table saw, glue, clamps- although you could make it happen with just a hand drill/driver and hand saw and clamps)

There probably won't be more updates until January. I just want this to be done!

Wednesday, December 19, 2018

Shredder Plans Scrapped, Flipped!


This shredder cost way more than I was anticipating, and quite honestly I started with the wrong platform. It probably would have been easier to have the entire front half of the frame custom fabricated at this point.


The chain tension issues were more trouble than they were worth. We were looking down the barrel of moving the dropouts to the front of the frame, adding a shredder brace to the downtube, adding a bracket for a chain tensioner, adding another bracket for another chain tensioner, and then STILL not being confident that the flywheel would be heavy enough to not just stop when it plastic bunched up inside the shredder.


So I took the oven back over after having worked on it for a few days and took the shredder back home. If it were around town I would be tempted to use the bike trailer- in fact it's possible, if not fast. But the shop is eight miles away! It's ok. The truck needs exercise anyway.

The shredder came back with me. But not in a good way. I settled up with the shop and picked up THIS on the way home!


That's right. I'm cutting my losses. Sure, the bike might be workable within a few hundred dollars. But what if it isn't? What if I pour $600 more into it, and it still struggles? I'll shelve the bike shredder idea for a later date. With a custom front frame it might not be bad. I might even keep part of the old frame just in case.

For now, I want to do it the way everyone else has, and just start shredding.

PS- Here's a photo of the oven as it sits at the shop. I realize I didn't have a good photo of the front since the modifications. Next item for them is welding up a mold- and I still don't have a shredder.


Tuesday, December 11, 2018

Oven Control Box


First up was building a small shelf. I wanted to house all the accessory stuff in the area formerly occupied by an oven drawer. This conveniently has structural members running through now, so it's an ideal place to put things.

I did get my new friend Jordan to help me with the oven this time! He is also into Precious Plastic and graciously lent a hand and a camera for a few hours during this process.


I unfortunately didn't foresee so many problems mounting the thing! To get screws through the left/back side of the structure, I had to make an access hole through the rear sheet metal. First attempt was with this antique and fantastically appropriating "Sioux" brand 1/2" drill. Google the name to check out the old logo. Hint: it's got a longbow.


The 1/2" hole would have been useful if I'd had a longer screwdriver bit. But alas I did not, so I had to Dremel out a large rectangle of metal wide enough to fit my DeWalt's chuck.

Finally got the thing in after messing around trying to get those two rear screws in.


 Then came the box. I measured very carefully and conservatively, then Dremeled out a hole for the temp controller and a hole for the oven light. The controller hole needed to be widened a little later, but that's better than being too wide from the start. Dust mask because of peer pressure and probably leaded paint!


All mounted up. Two screws hold it down.


Since the controller mounts from the front unlike the switch, I had to pull all the wires out, install it, then reinstall the wires. Big pain- make sure you keep this in mind if you're building an oven!

Additionally, I seem to have lost the little metal clips that hold the controller in place. Cleaned half the garage and didn't see them so I'm wondering if they made their way to the welding shop.


On the back side I made a notch and protected the wires from abrasion with some wire insulation.


I realized there was a lot of room under the control box, so I resized a crate from the trash and mounted it. This time I mounted it with bolts from the INSIDE to avoid the access hole issue from earlier. This crate will probably hold a respirator, any extra molds, or other stuff that I need to keep with the oven.


I found a dead speedometer that came on one of the exercise bikes, so I mounted that too. It just looks cool. :)

  Last, a vinyl decal.


Stay tuned for more! I'm hoping to get the shredder back soonish, then the oven goes in to have a mold made.