

First up was building a small shelf. I wanted to house all the accessory stuff in the area formerly occupied by an oven drawer. This conveniently has structural members running through now, so it's an ideal place to put things.
I did get my new friend Jordan to help me with the oven this time! He is also into Precious Plastic and graciously lent a hand and a camera for a few hours during this process.

I unfortunately didn't foresee so many problems mounting the thing! To get screws through the left/back side of the structure, I had to make an access hole through the rear sheet metal. First attempt was with this antique and fantastically appropriating "Sioux" brand 1/2" drill. Google the name to check out the old logo. Hint: it's got a longbow.


The 1/2" hole would have been useful if I'd had a longer screwdriver bit. But alas I did not, so I had to Dremel out a large rectangle of metal wide enough to fit my DeWalt's chuck.
Finally got the thing in after messing around trying to get those two rear screws in.

Then came the box. I measured very carefully and conservatively, then Dremeled out a hole for the temp controller and a hole for the oven light. The controller hole needed to be widened a little later, but that's better than being too wide from the start. Dust mask because of peer pressure and probably leaded paint!

All mounted up. Two screws hold it down.

Since the controller mounts from the front unlike the switch, I had to pull all the wires out, install it, then reinstall the wires. Big pain- make sure you keep this in mind if you're building an oven!
Additionally, I seem to have lost the little metal clips that hold the controller in place. Cleaned half the garage and didn't see them so I'm wondering if they made their way to the welding shop.

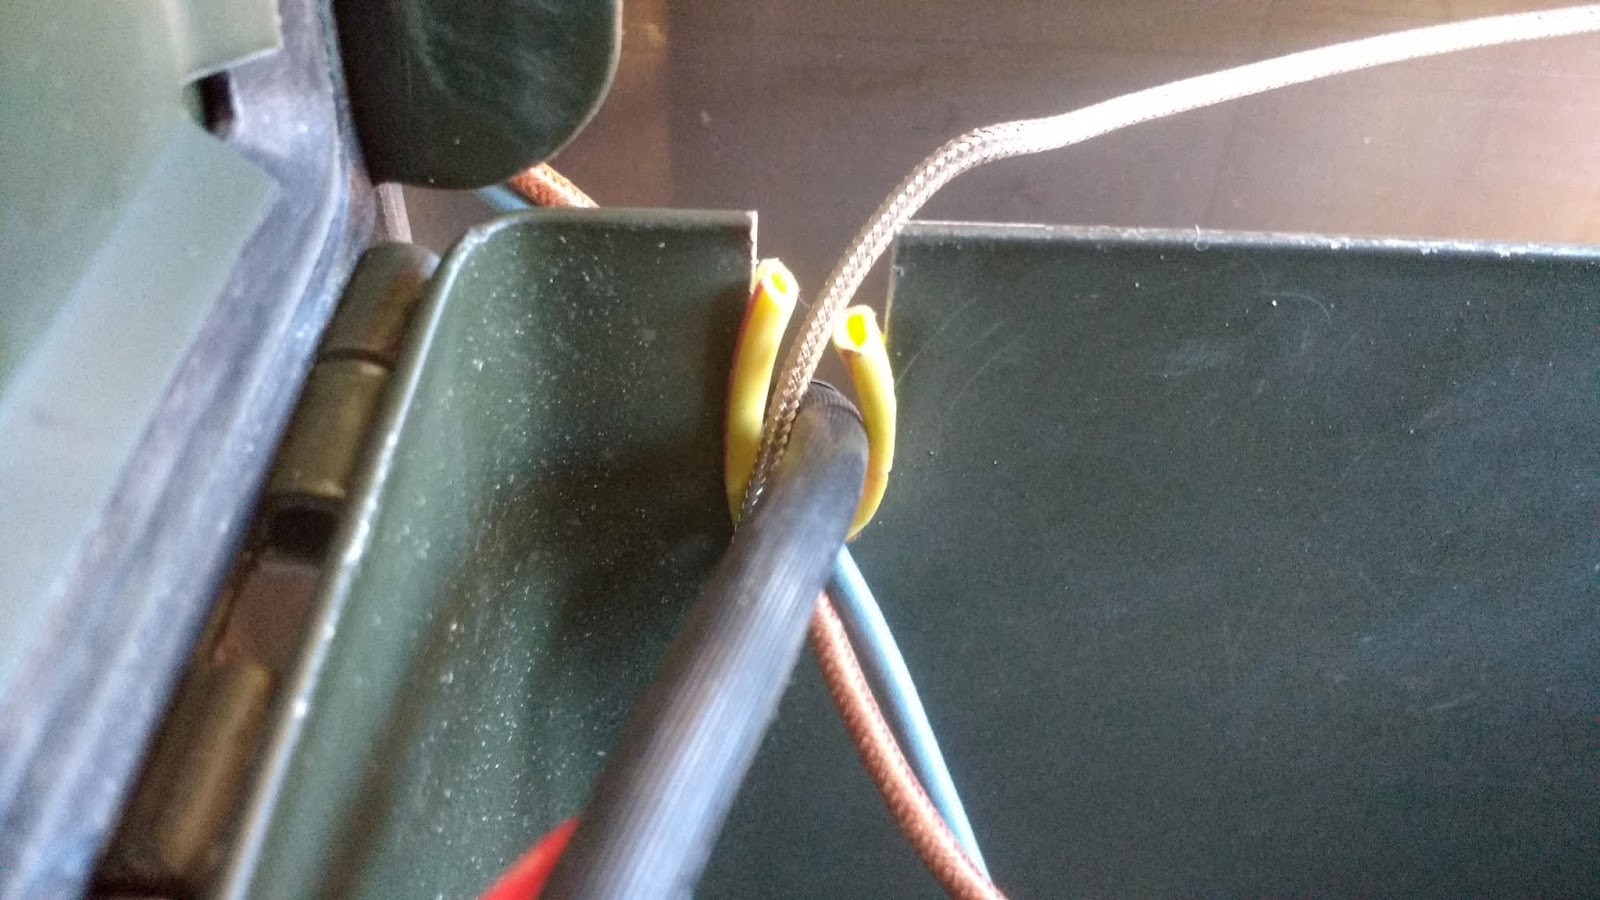
On the back side I made a notch and protected the wires from abrasion with some wire insulation.
I realized there was a lot of room under the control box, so I resized a crate from the trash and mounted it. This time I mounted it with bolts from the INSIDE to avoid the access hole issue from earlier. This crate will probably hold a respirator, any extra molds, or other stuff that I need to keep with the oven.

I found a dead speedometer that came on one of the exercise bikes, so I mounted that too. It just looks cool. :)

Last, a vinyl decal.

No comments:
Post a Comment